

Welcome to my first blog post ever! 👩💻
Today I'm going to talk about HTML.
HTML stands for hypertext markup language and basically, it's the structure of our website.
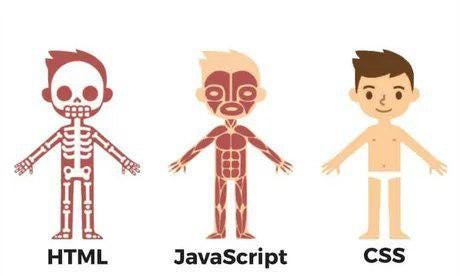
Let's imagine a human body. We have our skeleton (HTML), skin (CSS) and our movements/interactions (JavaScript).
HTML works with tags and attributes. Tags are elements and attributes are information for that elements. A bit confused?

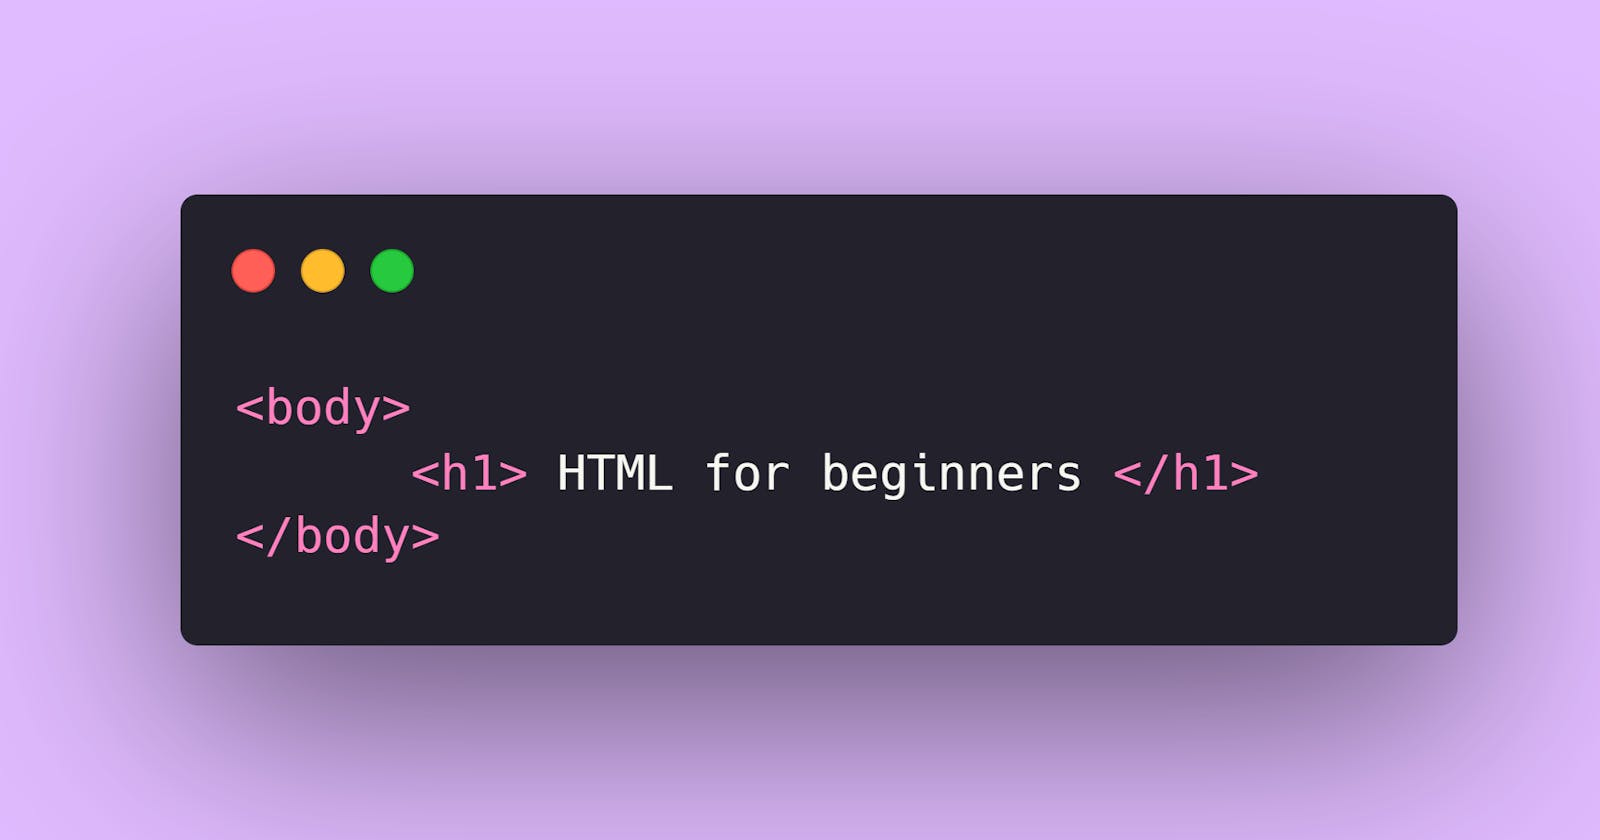
So here is an example:
<img src="example.jpg" alt="alternative name" width="30" height="30">
The img is an HTML tag, that represents an image. Normally all of our tags should have an open and a close tag.
Inside our tag, we have src, width, height, and alt. All these are attributes of our image.
So let's work on this!
I would suggest for you install the Visual Studio Code if you don't have it yet. Another IDE will work also.
In my case, I'm using VSCode because it's my favorite. So, open VSCode, and let's install an HTML extension to help us.
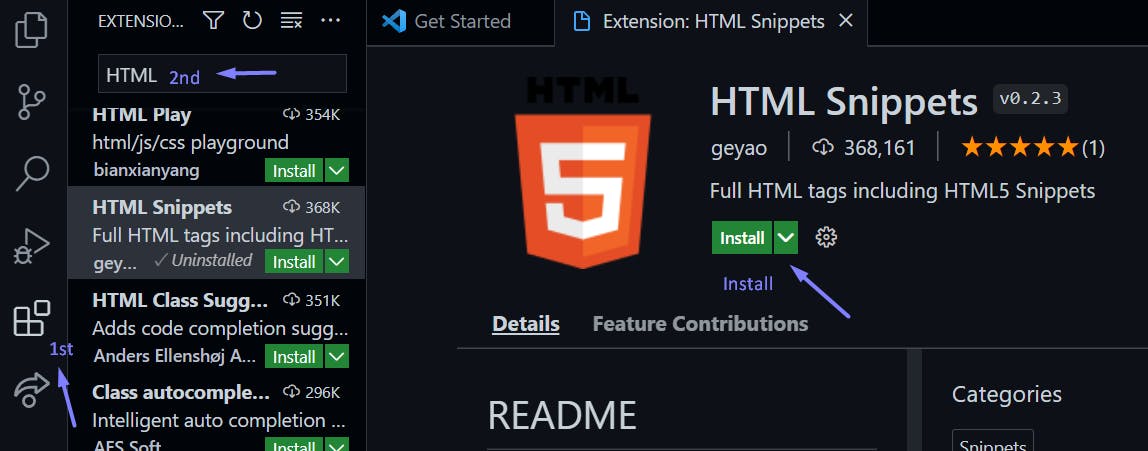
Should be the icon saying 1st on the print screen. Then search form HTML and choose 'HTML Snippets'.
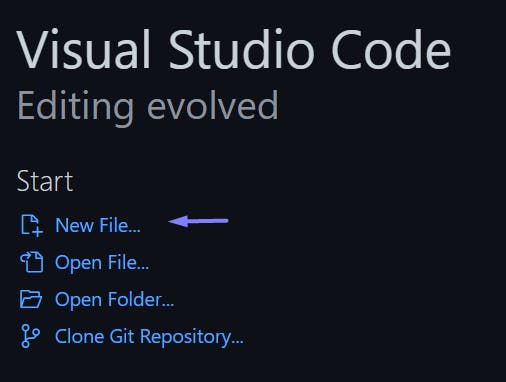
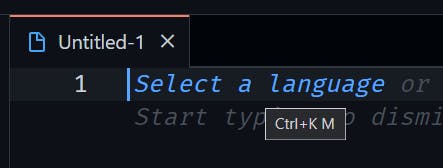
Now, back to the start page choose 'New file' and then 'Text File'
Select the Language as HTML:
If clicking on the 'Select a Language' doesn't work, on the bottom of the screen you have something saying 'Plain Text', click and choose the language.
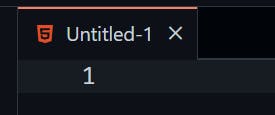
Done!
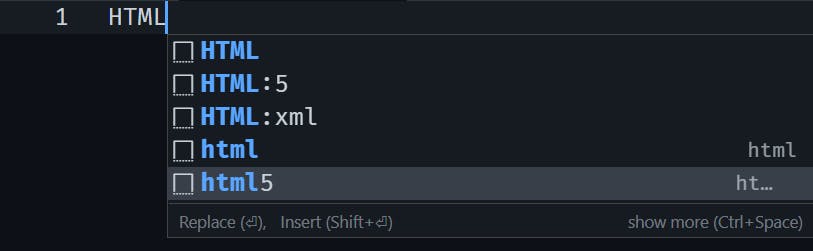
Now let's use our extension. Type HTML and it will give you some options. Choose the html5:
And boom! Our structure is done 🤭
Let's talk a bit about the template.
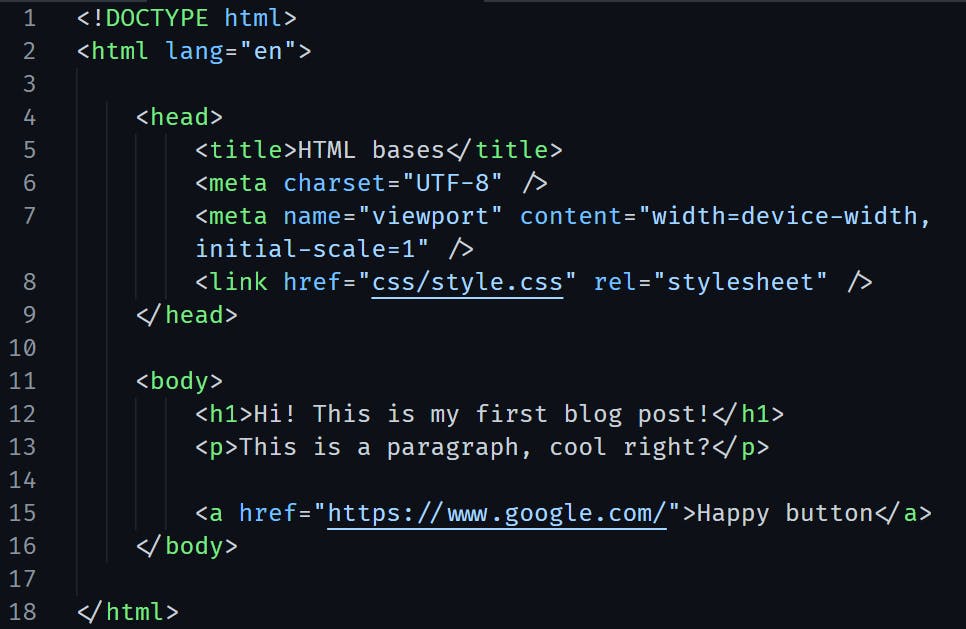
The Head tag is where all information about our page goes. This information is not visible to the user.
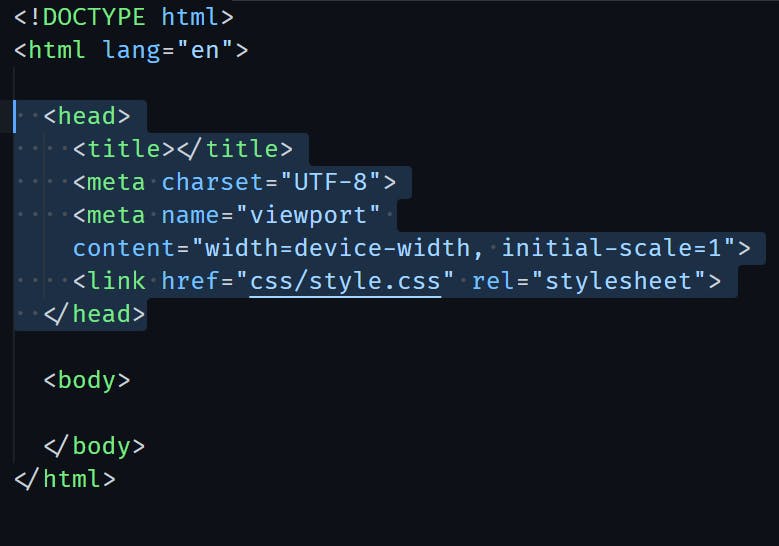
The first one is the title tag, as it says, it's the title of our page. This will be shown in the browser tab and it's really important for Search Engine Optimization (blog post coming).
The meta tag from charset="UTF-8" tells our character encoding to the browser.
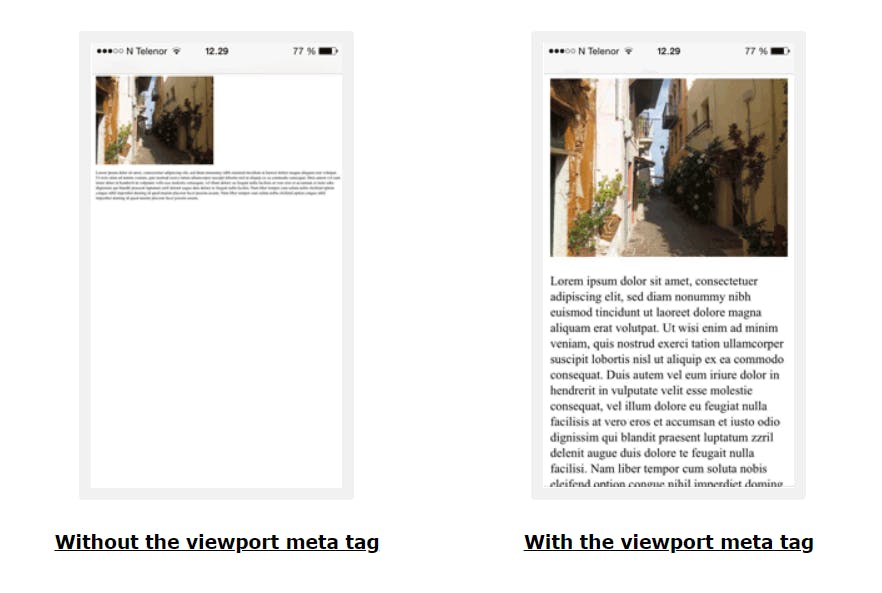
The next one 'viewport' is to tell the browser the user can use different viewport dimensions, like a mobile or computer. So we are telling the browser 'use the user's device dimensions to show my website.'.
Here is an example from W3schools.com that shows with and without this meta tag.
Then we have a link tag, basically, it's a way to connect to a different file. In this case, it auto-populated with 'css/style.css' because it's per default looking for a folder called 'CSS' with a file with the name 'style' and language type CSS. This is what gives us access to our CSS file. We will talk about this in another post later.
Now, the body tag! If the head is where the nonvisible information goes, this is where our visible information stays. The body will have our element tags and their attributes.
Finally! Let's write some HTML!
First, give a title to our page (on the head tag).
Then, on the body let's give it a header tag, a paragraph, and a href tag. Feel free to search on google, actually, most of the developers pass the day searching!
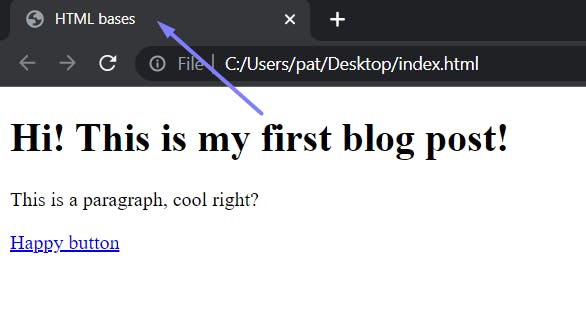
Result:
Maybe, you're asking 'hum okay, but how do I see actually what I did?' 😫
Yep! Let's save this file in any place you want on your computer. I will call mine 'index' and remember to save it as HTML type.

Now, go to your file saved and just open it on the browser!

Do you remember our title tag? Here it is!
Amazing job! 💪
Now, if you want to explore all the tags and have fun I advise you to try w3schools.com! HTML is super easy going but it's difficult to do it right.
Thank you for staying, hope you liked it.
If you have suggestions feel free to comment below.
Bye! 👋